
Shopify Product Page Tutorial for Skincare Brands
|
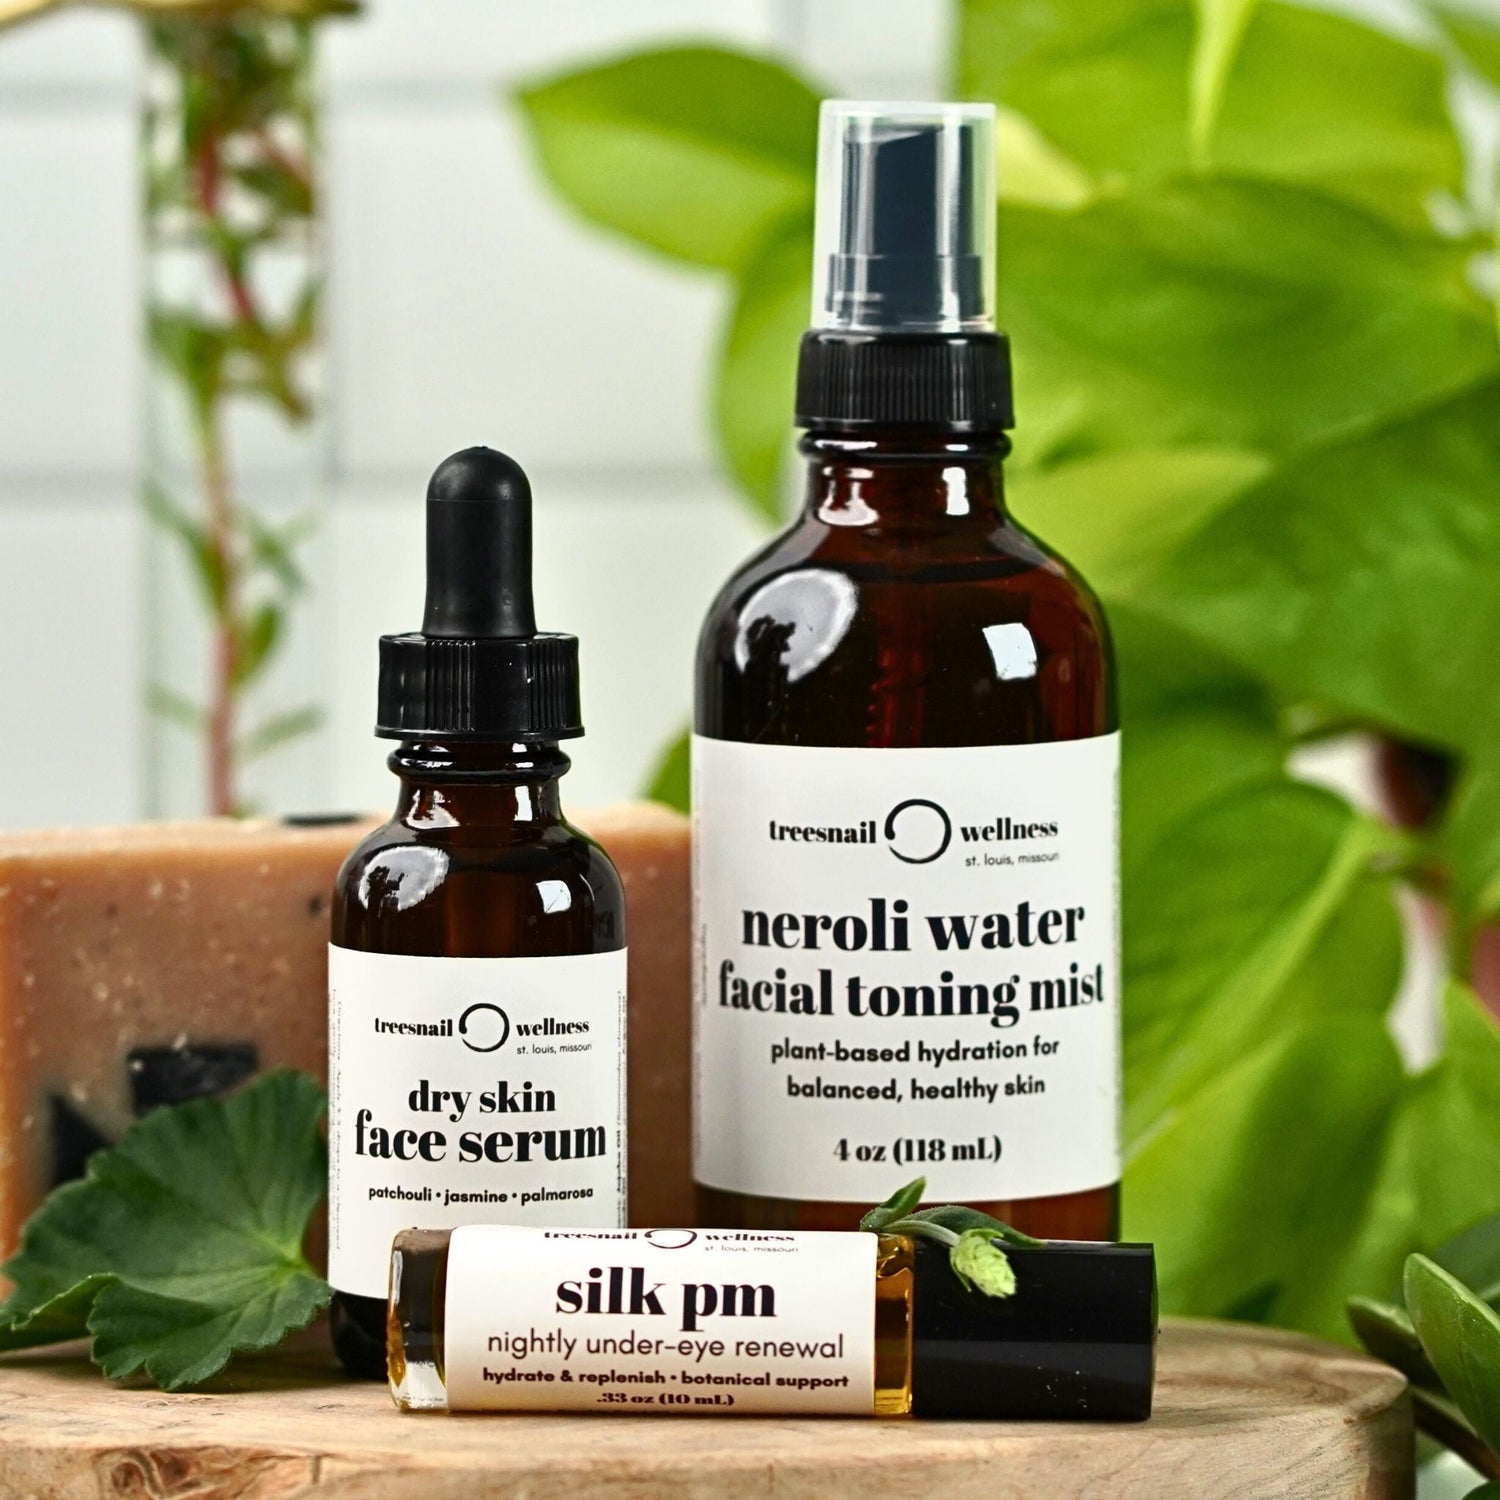
Our skincare bundles bring together complementary Treesnail Wellness products to simplify your...
|
Creating a high-converting Shopify product page for your handmade business is key to the success of your skincare line. In this slam-dunk tutorial, you’ll learn how to set up a stunning product page template and transform it into an effective sales powerhouse!
Packed with screenshots and tips from a fellow handmade entrepreneur (that’s me!), this guide will effortlessly walk you through each section you need to nail your product page—minus the confusion and stress.
No detail is overlooked in this tutorial. Get ready to set your handmade skincare business up for glowing success on Shopify!
If you haven’t already, start your free Shopify trial here.
Follow along with this Shopify Backend Setup Checklist (specifically written by yours truly 👋 for skin care businesses) to get yourself ready to go!
All Shopify product pages, regular pages, blog posts, collections, cart, checkout, EVERYTHING, are driven by templates that you create first.
Shopify does this so that your website has a cohesive feel, and can easily create new pages based on a single template that has been created.
In this first section, we’re organizing the Default Product template, which will be the base for ALL of your product listings (each skin care product sales page).
If you’re new to this, don’t stress. Just follow along click-by-click and trust the process!
To get to the Default Product template, log in to your Shopify account, click ‘Online Store’ in your left sidebar, and then the ‘Customize’ button on the right-hand side.
Next, click on the ‘Home Page’ dropdown at the very top of the page. Select ‘Products’ and then ‘Default Product’.
Note: The screenshots provided in this tutorial are from a site I have already built. You will not see the same background brand colors or installed apps. I will point out which sections I have added to my Default Product template.
When you open the Default Product, look at the sidebar on the left.
You will see three main sections: Header, Template, and Footer.
Anything changed in the header and footer areas while in the ‘Default Product’ template will alter your entire Shopify site, not just the product pages.
Leave those be for now so that you can design them intentionally in a different area.
In the Default Product Template for this tutorial, we will ONLY be modifying items in the ‘Template’ area.
We will work through the ‘Template’ section of the Default Product starting from the top with ‘Product Information’.
If it’s not toggled open already, click on the arrow next to ‘Product Information’ so that it expands a menu similar to the one below:
The sections pointed to in red are apps I added myself (you will not see these on your template). If you are interested in adding those to your own Default Product template, the name of the app is to the left (find them in the Shopify app store here).
Every line in the sidebar of Shopify templates are able to be deleted, hidden, and moved to a different spot.
When you hover over a section or block, you will see a trashcan (deletes that item), an eye that you can click on to open or close (makes that section visible or hidden, but not deleted), and dots on the left to move the section up or down in the template.
Keep in mind that this is your product template, so some of these items we’ll just talk about and not do anything to…Shopify knows what you need for success!
Some items you will end up coming back to at a later time to edit once you have your product listings up and running and understand how this all works together.
If you are new to Shopify, go through this post once before taking any action to get a feel for what is being explained.
With that housekeeping done, let’s get this party started, starting at the very top with ‘Text’!
Additional text that you want above the product title. By default, it shows the vendor of the item (for our cases, it would be us, since we are the makers).
You can delete the ‘Vendor’ detail in the text box on the right and include whatever information you’d like (such as ‘handmade in {your city}’, or 100% natural) or hide/delete this section completely.
This is the name of your product.
You will be able to add product titles in a different section of Shopify after we go through this template.
Reviews will not be added to your products automatically. This is a highly recommended section to add (app from the Shopify App Store), as star ratings will be crucial to your Like/Know/Trust factor.
I use the Judge.me Product Reviews app (it’s free!) and have had a great experience with it.
If you are still getting comfortable with Shopify, you can absolutely add this later when all of your basics are set up. Please don’t stress. (Seriously.) One step at a time.
You will add individual prices to your product listings in a different section of Shopify after we go through this template.
A variant is a choice you give your customer for any given product.
For example, a certain type of packaging (standard or gift wrapped), a size (1 oz. or 2 oz.), or maybe a scent (lavender or peppermint).
You will add your variant options to your product listings in a different section of Shopify after we go through this template.
However, the Default Product template is where you can choose how the variants appear (in a pill form, as shown in the screenshot below, or as a dropdown selector).
This stock counter (‘9 left in stock’) is from an app I added called Jedi Stock Counter (another free app!).
Some Shopify themes have a stock counter included already, some do not.
This detail increases conversions, as it adds to the urgency for your customers to purchase if your inventory is getting low.
Your inventory will be added to a different section of Shopify after we go through this template.
The Quantity Selector section is where your customers will choose how many of a product they would like to purchase. Nothing to do or change in this section.
In the ‘Buy Buttons’ section, there are two buttons that are available to show: ‘Add to Cart’ and ‘Buy Now’ (the ‘Buy Now’ button appearance may change based on the payment options you applied in Settings during your Shopify Backend Setup process).
On the far right side, make sure you have the box ‘Show dynamic checkout buttons’ checked. The option to go straight to payment will increase conversion rates (the fewer clicks a customer needs to check out, the better).
The ‘Icon with Text’ section will not automatically be on your menu and is completely optional. I am showcasing it here to demonstrate that you can add extra sections (which are different than apps) to your Default Product Template.
In the ‘Template’ section of your left sidebar, go to the very bottom and click on ‘Add Section’. Here, you can see all kinds of options to add to your Shopify product pages.
Hover over each to get a preview of what the section is.
Remember that while you want your customer to click around on your site and keep their interest, you also don’t want to distract them too much so that they end up with decision paralysis.
If you decide to add a section, simply click on it and drag it to where you would like with the six dots on the left-hand side.
Paragraphs of copy that you will write to describe your product.
You will add individual descriptions to your product listings in a different section of Shopify after we go through this template.
This is a tiny little area that will link the product for easy sharing via text or social media.
On the right-hand side of the screen, you can edit what the ‘Share’ text says (keep it on brand)!
Related products will automatically populate as you add new products and place them into categories in a different section of Shopify.
On the right-hand side of the screen, you will see options for formatting the appearance of your Related Products (heading, number of products to show, etc).
I suggest not worrying about this if you’re just getting started and still have to add your products, as it’s hard to tell the result without anything to work with.
Come back to this section after you have added items to Shopify.
After you’re comfortable navigating your Shopify product page and have installed a review app, make sure you add another section to the very bottom where your customers’ comments (and possibly pictures, if you have the option enabled) can be shown.
This example screenshot is from the same Judge.me app that was discussed above in the Star Ratings section (the creators of the app will walk you through your options and how to add sections like this to your Shopify site):
There you have it! All of the main product page sections!
Add more if you’d like, change the order by clicking on the left dots in the sidebar and dragging them up and down – experiment and play! That’s the best way to get cozy with any new program.
The Handmade Skincare Business Foundations Bundle includes everything you need to build, brand, and market your skincare business–so each piece works together from the start.

Christine is a certified aromatherapist, essential oil specialist, and organic skin care formulator. She loves empowering others with tools to make healthy changes and understand where natural options can be woven into the fabric of everyday routines.


